Drop Spindle Spinning Tutorial
Spinning your own yarn for knitting, weaving, or crocheting is immensely satisfying, and expands your creativity options.
Spinning your own yarn for knitting, weaving, or crocheting is immensely satisfying, and expands your creativity options.
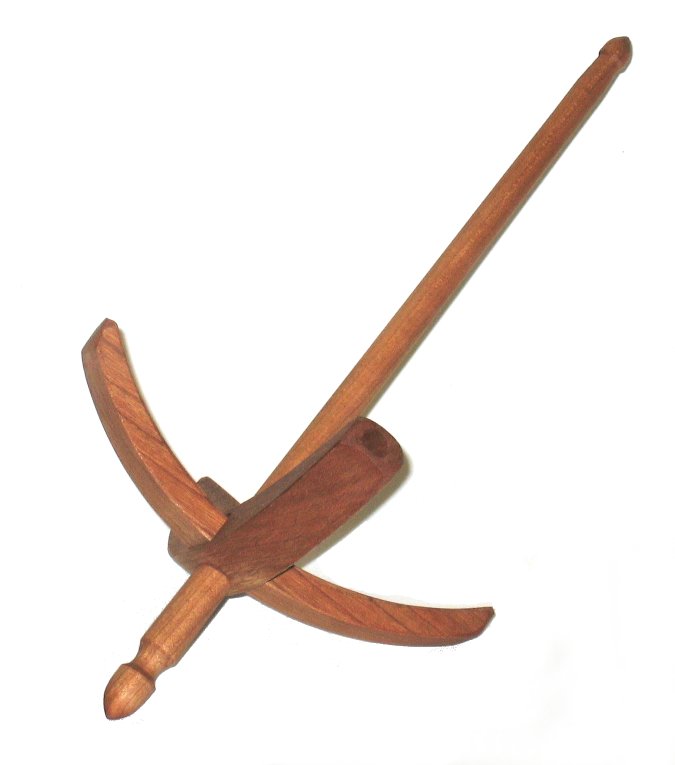
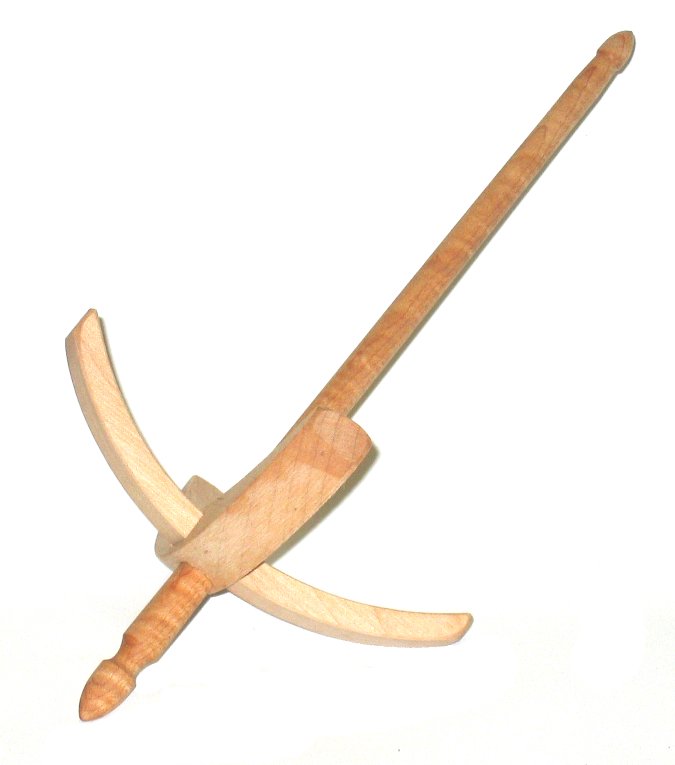
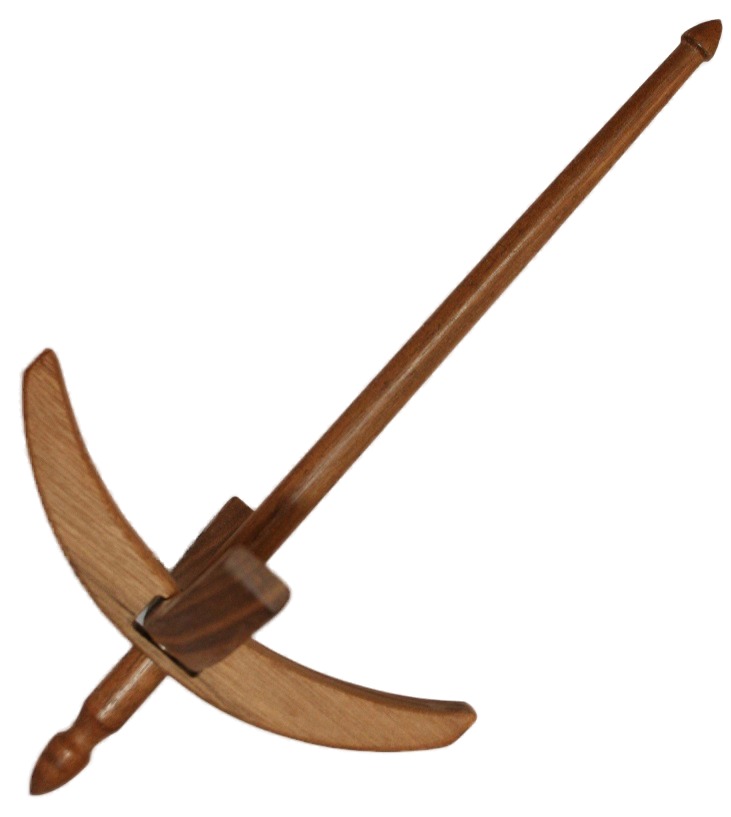
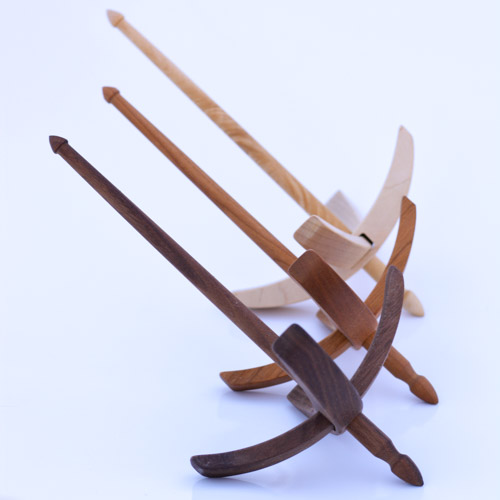
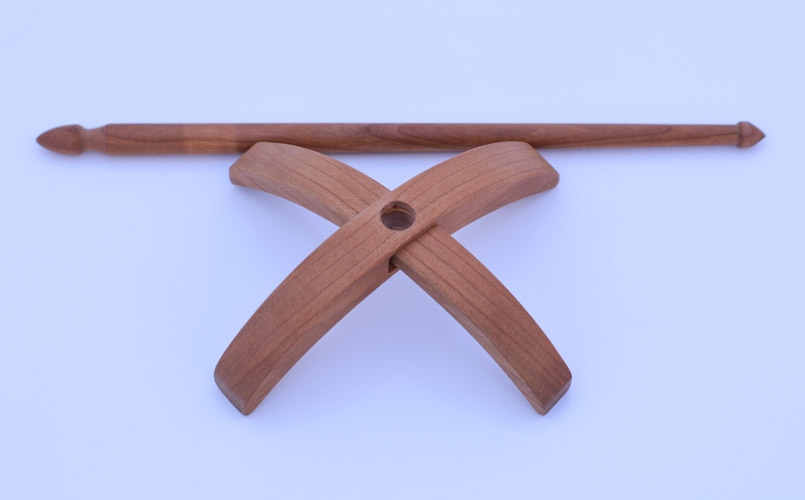
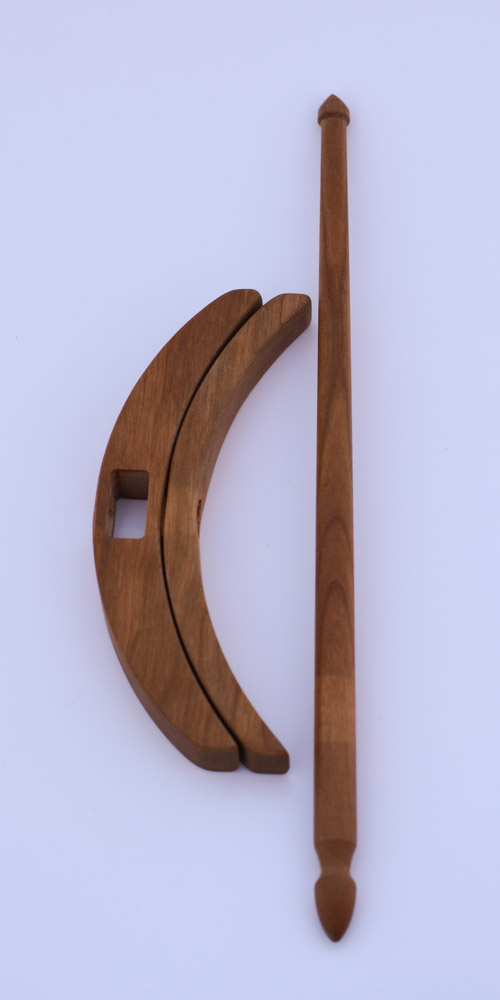
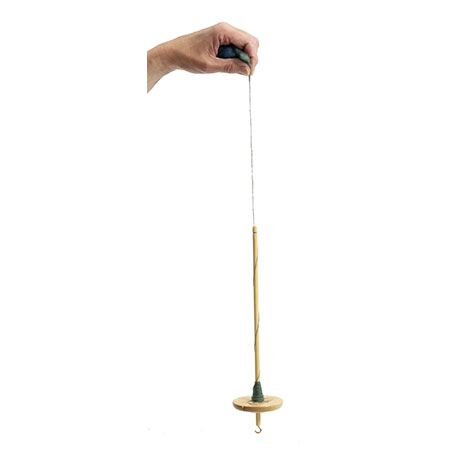
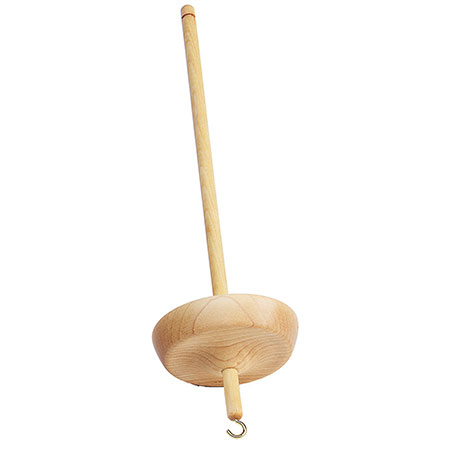
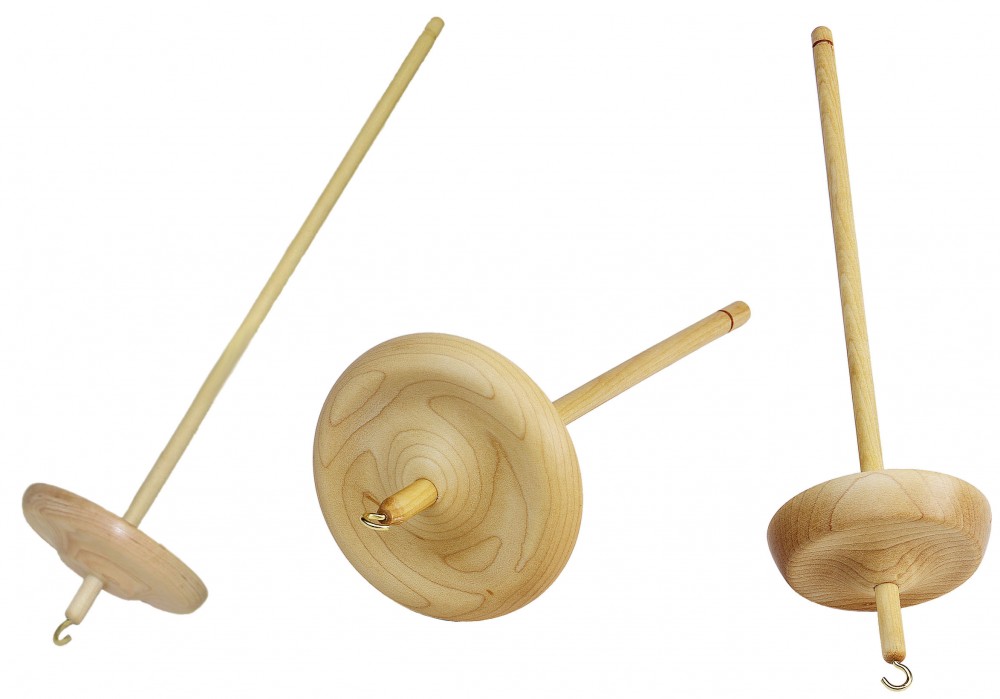
First, you need a spindle and some fiber. I like to start folks out with a bottom whorl spindle that has a hook and some Corriedale wool roving.

Attach a leader yarn, about 30″ long, to the spindle. To do this, wrap the yarn counterclockwise around the shaft near the whorl several times, to secure it, and then spiral it up the shaft, like a candy cane. Wrap the last spiral under the hook and lead it out the center of the hook. There should be a few inches of yarn extending beyond the end of the shaft.

Now, pick up the roving, and holding your hands about 4″-5″ apart, pull with a quick, even motion to get a handful of wool.

Overlap the wool on the end of the starting yarn.

Supported Spindle Spinning: Until you get the initial hang of spinning, you will “support” the spindle, rather than “dropping” it. Set the spindle on a table or another flat surface. Hold the starting yarn taut to support the spindle, and gently hold the area where the wool overlaps the yarn. Using the other hand, grasp the shaft with your fingers and twist the spindle in a clockwise direction. As the spindle turns, the yarn and wool will twist together. Hold them gently enough to allow them to do so.

The Drafting Zone (Triangle): Now we need to discuss what is happening when you spin yarn. First, look at what you have now. The starter yarn and the wool have twisted together to form yarn. Immediately above the yarn is the “drafting zone” or “drafting triangle”. This zone controls many of the factors that affect your yarn. If this triangle has more fibers in it, the yarn will be thicker; if it has fewer fibers in it, the yarn will be thinner. The triangle will shorten as the wool twists into yarn, and lengthen as new fibers are drafted. The yarn is formed when fibers enter the drafting zone and are caught by the twist that is coming up the yarn from the rotating spindle.
Drafting: Then you “draft” the wool: hold the wool gently with the first hand about a fiber’s length away from the triangle (4″-5″ in this instance) and gently grasp the yarn with the second hand. Gently pull the wool upwards away from the spindle. Now use the second hand (the one that was holding the yarn) to give the spindle a clockwise spin. The drafted fibers will now twist together to form yarn. Do not let the twist run into the drafting zone. If it does, it will make it difficult to draft.
Repeat this process until you are comfortable with it– draft, spin, draft, spin. Don’t let the spindle start to turn counterclockwise, or it will untwist your yarn. Soon you will be able to draft while the spindle is still spinning. Do not hold the yarn for very long with the second hand, though, or the twist will accumulate below your pinching fingers. Try to learn how to draft against the pull of the weight of the spindle, and just use your second hand to get over tough spots.

Winding on: When the yarn is longer than is comfortable to work with, wind it around your fingers (Fig.5 shows one way of doing it).

Unhook the yarn from the spindle, unwind the “candy cane”, and wind on the yarn, leaving enough extra to spiral up the shaft, through the hook, and extend a few inches above the top of the spindle. A note about winding on the yarn– try to keep the yarn in a squat, wide cone shape. Keeping the yarn, and therefore, the weight, near the whorl helps it spin better.
Joining: When you’ve spun most of the handful of wool, you’ll want to join on another piece of wool. Fluff out the end of wool you still have, or, if you’ve spun right up to the very end, split open and frizz out the end of yarn. Break off a piece of roving as described above and overlap the wool and the end of yarn. You want the fiber from the spindle end and the fiber from the handful to interlock and mesh, so the join will be strong. Twist the spindle to join the new fiber supply. Once you’ve joined them, rub your fingers up and down over the join. It should hold together and no tails or ends should pop out; the two ends should not wrap around each other– they should meld into one. Try pulling on the yarn. Is the join strong enough to hold together? Practice joining– it is important to have a sound yarn.
Keep Practicing: The yarn you are making will not look perfect at this point. And there is nothing wrong with that. Every spinner starts out spinning uneven, over-twisted, under-twisted yarn. You have to start somewhere. The important thing is to keep practicing. Don’t give up! You will get the hang of this.

Look at your yarn. See how the twist accumulates in the thin spots and skips over the thick spots? Twist has a lot to do with your yarn. You can see that you need more twist to hold together a fine yarn than you need to hold together a thick yarn.

Also, remember to keep the twist out of the drafting triangle. It makes drafting difficult. If drafting is still difficult, it may be that the first hand is holding too close to the drafting zone. Depending on what you are spinning, the fiber length varies. The wool roving you are using has approximately a 4″ staple (individual hair length), so try to hold about that far from the drafting zone.
Drop Spindle Spinning: Once you get the hang of the spinning process, you will want to try using your spindle as a drop spindle. The process is the same, only instead of supporting it on a table, you let it hang in the air. So, you can see that it is important that the yarn have the proper amount of twist, so that it will hold together and keep the spindle in the air. If it does not have sufficient twist, it will drift apart and the spindle will fall. Remember to hold the yarn itself for only a moment with the second hand when you are drafting, so the twist will be allowed to travel up the yarn and twist the newly drafted fibers.

Z or S?: The yarn you have been making is a Z-twist yarn. If you spun the spindle counterclockwise, you would have a S-twist yarn. If you were to turn this diagram upside down they would still be Z or S, no matter how you look at them. This is good to know when it comes time to ply or use your yarns. It is also a good idea to be consistent. Always spin your yarns either Z or S. That way you don’t have to examine them when it comes time to ply or use them. Traditionally, singles are spun Z (clockwise) and plied S (counterclockwise). But, this is your yarn, and you are free to do whatever suits you.

To make a plied yarn: When you have spun a spindle full of yarn, wind it into a ball. Then spin another spindle full and wind it into a ball. Now, place the two balls in separate boxes, bowls, or jars to keep them from tangling around each other.

Tie the ends of the two balls together and wrap them around the shaft clockwise several times to secure. Spiral them up the shaft, candy cane fashion, and bring them out the hook. Twist the spindle counterclockwise and feed the yarn singles (evenly tensioned) through your hand. Proceed as for spinning the yarn, the only difference being that you will turn the spindle counterclockwise.

Skeining: Once you have a spindle full of plied yarn, it is time to make a skein. Some people use special tools such as niddy-noddys or reels, but you can use a chair back.

Then tie figure eight ties in three or four places. This keeps the yarn from tangling.
Finishing: Wash the yarn in lukewarm water to “set” the twist. Squeeze — don’t wring — out the water and lay it on a towel to dry, out of direct sunlight. It may take a day or more to dry, depending on the humidity.
There! Now you have your own yarn to knit, crochet, weave, or craft with!
© 2001 Andrea Mielke Mielke’s Fiber Arts N4826 21st Avenue, Mauston, WI 53948 (608) 350-0600 www.mielkesfiberarts.com


Handcrafted in the USA.


Excellent spindle for beginner and experienced spinners alike!


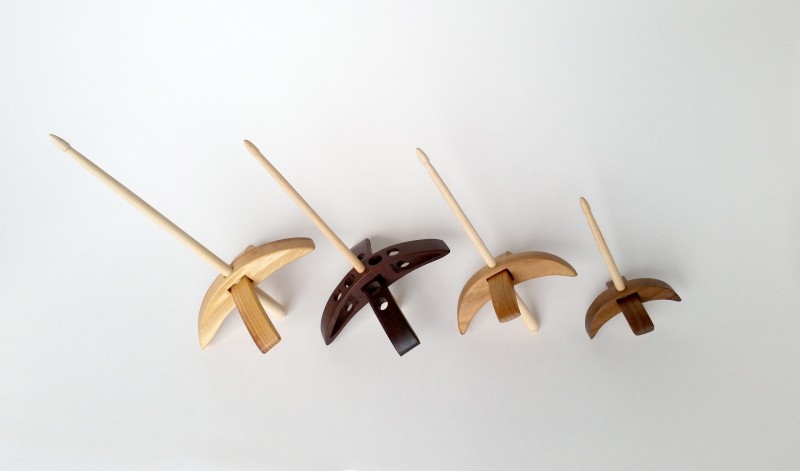
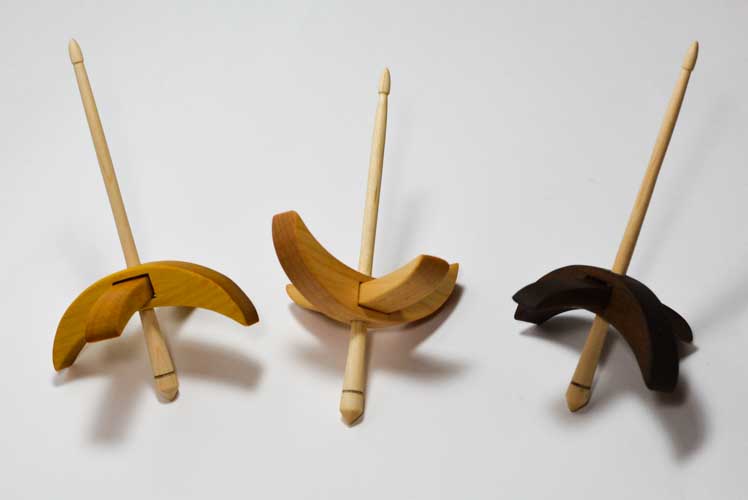
Choose your design from the drop down list.


Economical spindle!